


I decided to put pages from old books on the shelf instead of painting to make it a little more elaborate. The books were from my mom, an old german to english dictionary and linguistics, and an old tale about a ship that seemed to be published in the 1940s.


Here is what I used
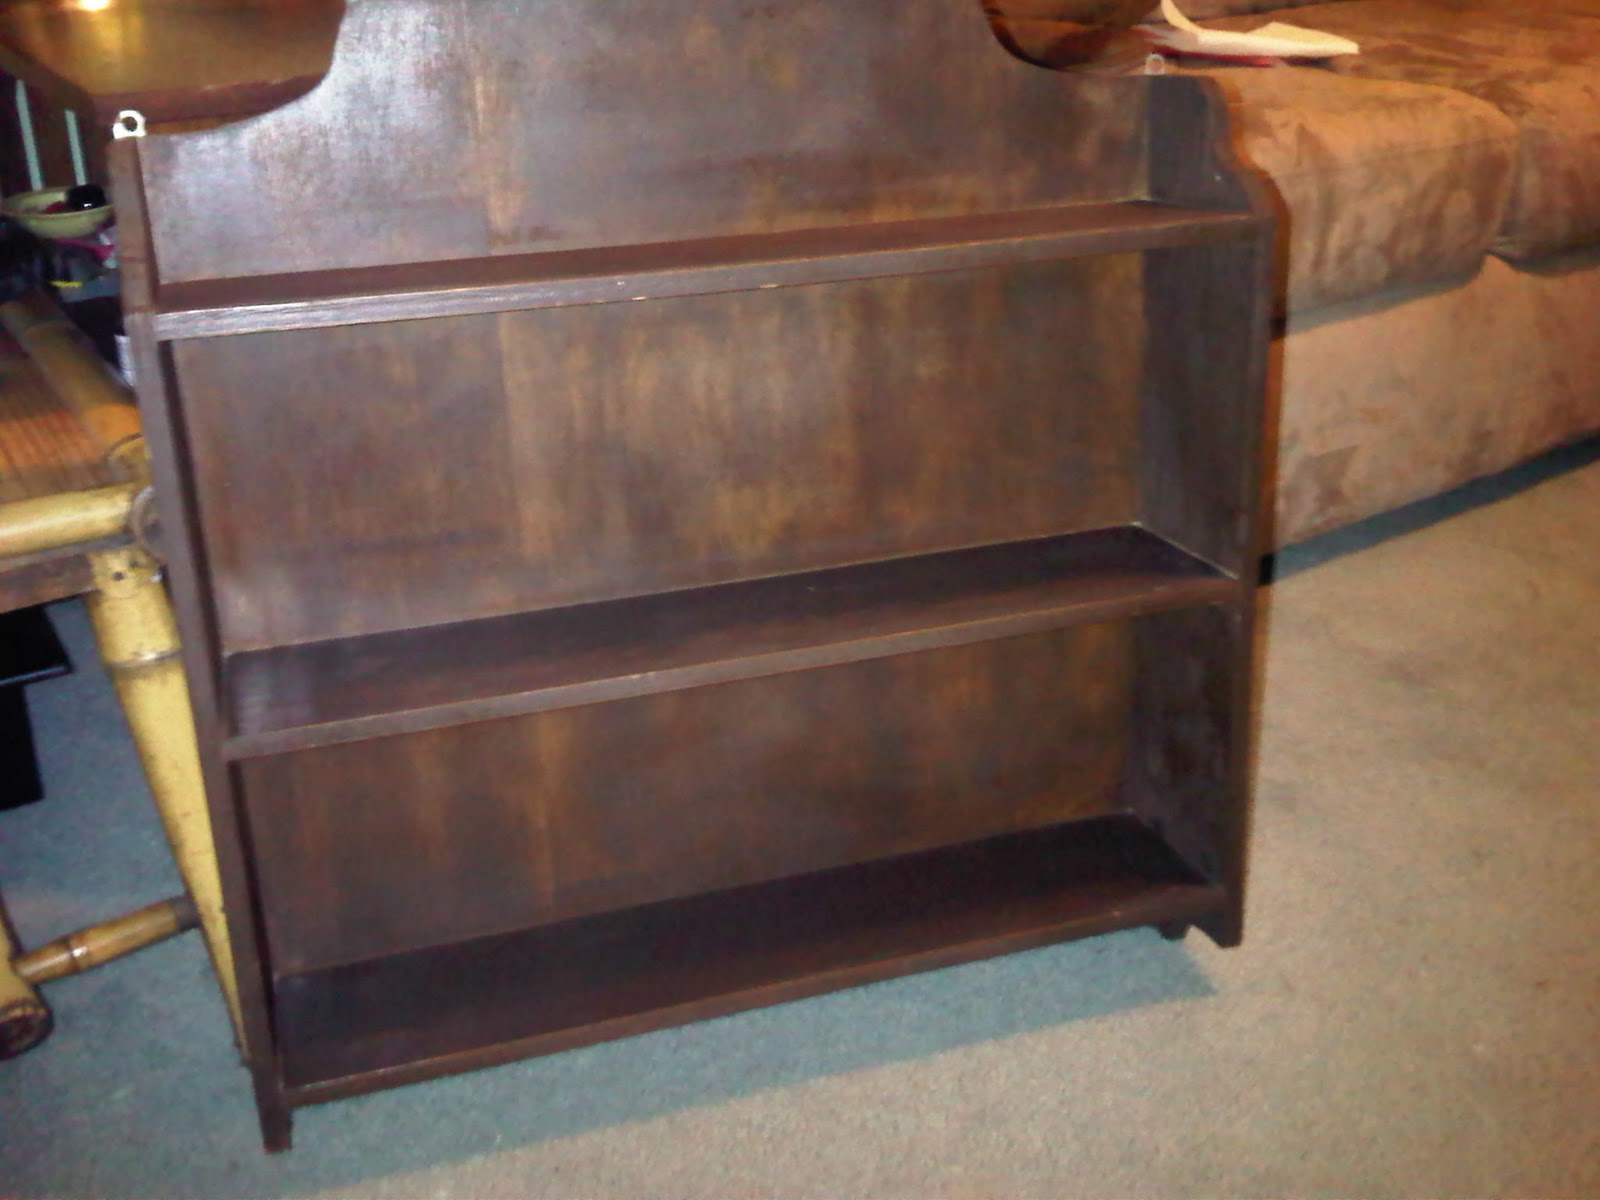
Old Shelf
Mod Podge- Gloss Finish
Old Book Pages
Paint brush
I cleaned to shelf first with a damp cloth and allowed to dry. Then I applied heavy layers of Mod Podge and would then apply the book pages in variation to add depth with the the two toned pages.

I put another coat of Mod Podge on top of that and allowed to dry, and here is the finished product!


I will put another picture up when it is hanging up after Christmas ;)
And what was the cost of a project like this?
Shelf at Thrift Store $13.99
Mod Podge $ 7.99
Books FREE
TOTAL $21.98


